KBR Horse Net
|
|
PUTTING ON THE ROPE HALTER |
|
One advantage of using a rope halter is that for all practical purposes
it looks and feels very similar to the rope already on the horse. It
doesn't usually take much to get the horse to target it and it doesn't
have an abrasive feel.
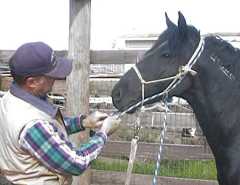
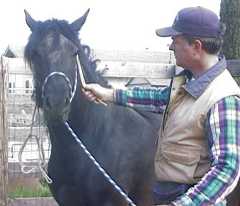
The first step in haltering for the first time is to get the horse to touch and smell the halter, and get used to the material around his face and muzzle. |
|
|
At this point with most horses, I'll drape my right arm over the horse's neck
and by reaching under the neck, hand the pole strap from my left hand (underneath)
to my right hand (on top.)
Max' neck was so thick that it made more sense to hold onto the poll strap with my right hand and simply shove the halter over the top of his neck and let it dangle there. |
|
|
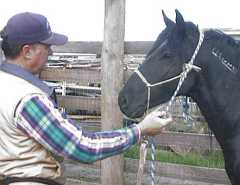
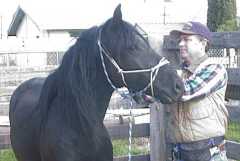
Using basically the same technique as with the quick halter, I slip the
nose band over Max' nose.
I can keep the halter level as I slide it up his nose by giving out or taking up slack on the poll strap with my right hand. Since the horse already has a rope on his nose, the introduction of the halter is usually not a big issue. |

|
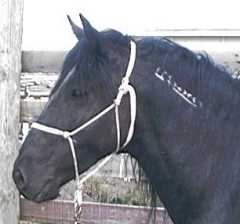
| I tie off the latch knot and I now have a rope halter on Max without any fuss or bother. |
|
|
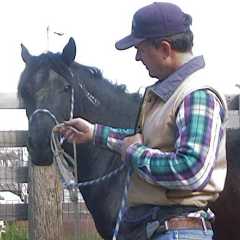
Then all that is left is to attach a lead line to the rope halter, and then remove the quick halter by pulling some slack in the nose band, drawing it down below the horse's chin, and pulling it all off the horse by drawing back on the running end of the rope.
| |
Pulling down the nose band |
Slipping off the neck loop rope |
|
After a couple of halterings with the sliding neck loop, Max could be haltered without the loop, and then by reaching around his neck as one would typically halter a horse. | |
Continue to Part 6Return to Part 4Press "Back" to return to the page that brought you hereReturn to Case Study SectionReturn to Training SectionReturn to Wild Horse MentorsReturn to KBR World of Wild Horses and BurrosGo To
| |